Researching growing rootstocks for sustainability and use in apple orchards
I am constantly thinking how can I make the orchard more sustainable? Part of this is making the orchard more efficient to work in and economically viable. Part of this is making the orchard an environment that is ecologically doing its best. Part of it is me learning, pondering and fulfilling my interest in minimising waste and using what we can from the orchard.
So, can I grow my own rootstocks?
I have thought about this for a long time. For years I have been cutting the suckers away from the rootstock and chipping or pulverising them alongside the rest of the prunings. However, often they would detach with roots intact, could these grow the desired rootstock for our own grafts?
Why grow your own?
- Yes, rootstocks are cheap to buy…although not as cheap as they used to be and delivery costs are often high.
- Everyone sells out quite quickly. More and more people are grafting and learning these skills which is a good thing!
- You do not know exactly when they will arrive.
- You have to store your scion wood until the arrival of your roostocks or wait to prune so the scion has not degraded.
- Your rootstock has already grown and acclimatised to your particular orchard environment and soil.
- The rootstocks have to travel, that’s fuel being used for a box or two.
So taking these factors into account. What if I could grow them in the orchard, from the orchard, to be used…you guessed it..in the orchard?! This would be another step towards being more self sufficient.
How I will grow my rootstocks
So I have done a lot of research, as always. There isn’t a lot of information out there but I have put together a plan. Now it doesn’t matter if this doesn’t work. It took me 40 minutes to collect the rooted suckers. Another 10 to pot them up and a water every now and again. If they fail, they will be chipped and go into our compost. However if they succeed we could be harvesting off these for the next 20 years!
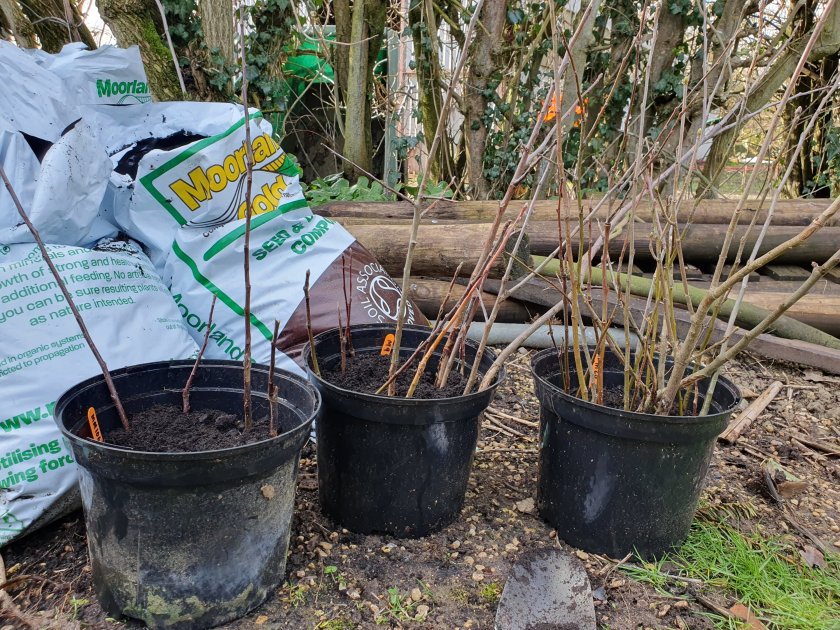
STEP ONE – Take off suckers but make sure they have roots attached. Even just one root is worth trying.
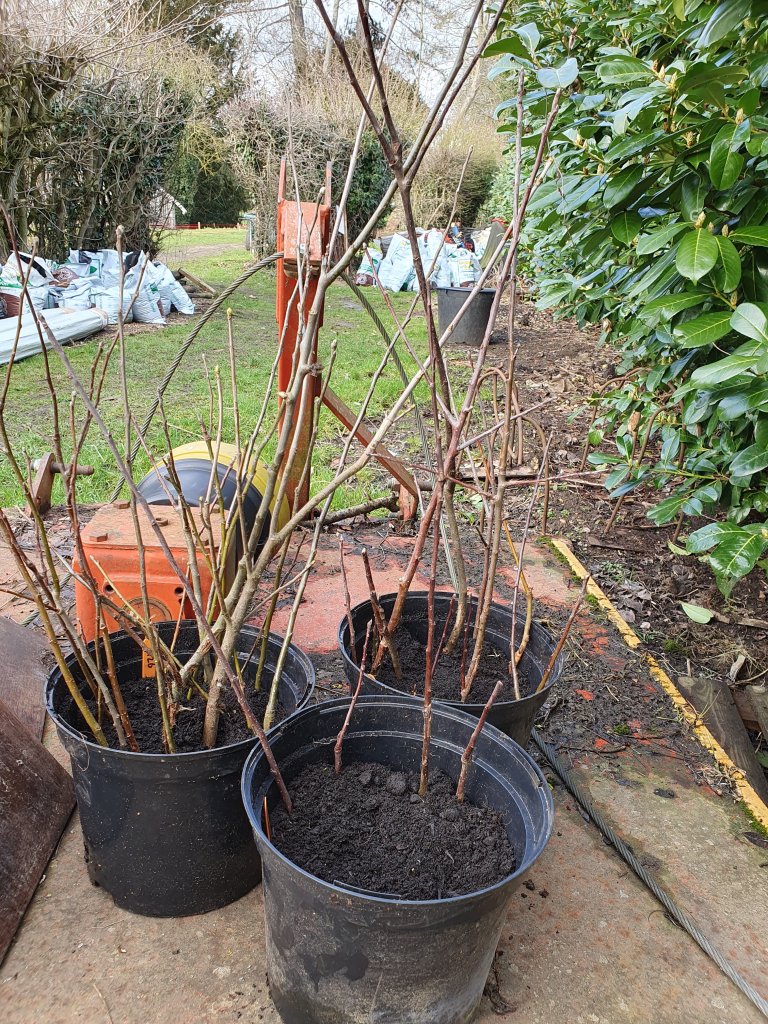
STEP TWO -Plant up in a fairly deep pot using low nutrient soil as we want as much energy as possible to help create more roots. A nutritious soil will create lovely foliage but we are not fussed by that for this purpose. We want as much vigour getting to the rooting zone as possible. You don’t need to put one rootstock in one pot, pack them in but make sure they are all the same type! Gradually build up the soil to create more roots. Very importantly remember to label! We are growing M9, M26 and MM106 rootstocks and I need to make sure I put the right tree in the right place. Or, if when using for our grafting courses that I give the desired rootstock to our guests.
Store somewhere that isn’t too open to the elements. Protect from rabbits, muntjac, deer and birds. Keep an eye on pests and disease throughout the year. Get rid of the pests. Do not keep any diseased rootstocks, you want to promote a healthy, strong start for your grafts in the future. This begins with a healthy rootstock.
STEP THREE – If any take and do well, keep for a year before planting in your nursery bed. Keep checking for pests and disease.
STEP FOUR – Work out whether to layer or stool plant them in a nursery bed…or both. (Or do you know of a different way?) I’ll explain this in a later post but I have less than a year to decide. If this works. Where will I dig the nursery bed? and Which method will I use to grow them? Stooling will take up less space but layering will potentially get better results.
STEP FIVE – If this fails…learn why, don’t get bogged down, try again or buy from someone else.
I love an experiment and I’ll keep you posted! I am ridiculously excited by this!!
Have you done this? If so, let me know!!

Leave a comment